May 8, 2025
Gas Oven Won’t Light? Try These 5 Troubleshooting Steps
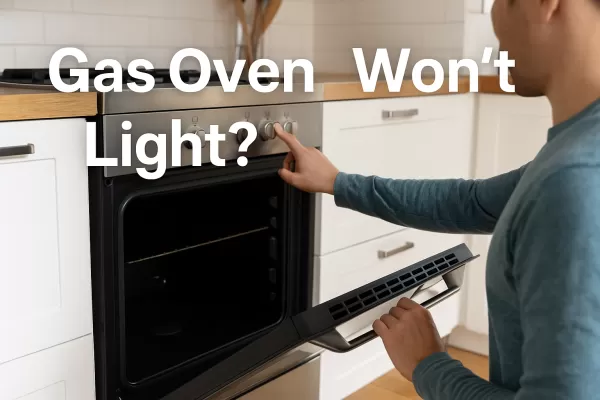
Gas ovens offer several benefits—they’re energy-efficient, heat up quickly, and provide excellent temperature control. Some models even continue to work during power outages. But if your gas oven suddenly won’t light, it can bring your cooking plans to a halt. Before calling in a technician, there are a few things you can check yourself. Let’s walk through five common causes and how to fix them.
1. Check the Gas Supply
The first and most essential step is to confirm that your oven is actually receiving gas. Without a gas supply, your oven won’t ignite.
- If the stovetop burners light, gas is likely reaching the appliance.
- For homes with piped gas, test other gas appliances to see if they’re working.
- If you use a propane tank, inspect it to ensure it’s not empty.
- Make sure the oven’s gas shutoff valve is fully open.
- Try to smell for gas when attempting to light the oven—a distinctive odor is added to natural gas for safety.
- If there’s no gas flow or you suspect a larger issue, contact your gas provider or a licensed technician for help.
2. Check the Power Supply
Though gas ovens run primarily on gas, many models require electricity for the display, electronic controls, or igniters.
- Check if the control panel or clock is working. If it’s blank, you might have a power issue.
- Make sure the outlet is functioning and that the oven is plugged in securely.
- Inspect your home’s circuit breaker and reset it if necessary.
- Once power is restored, try lighting the oven again.
3. Inspect the Igniter
The igniter creates the spark that lights the gas. Over time, it can wear out or get dirty with grease and debris, preventing it from sparking effectively.
- Turn off the gas and unplug the oven before starting any inspection.
- Locate the igniter (consult your manual if needed) and clean it using a soft, damp cloth.
- After cleaning, reconnect power and gas and attempt to ignite the oven. Look for a visible spark or glow.
- If there’s no sign of ignition, the igniter may need to be replaced. Be sure to use a compatible part and follow the installation instructions carefully.
4. Check the Pilot Light (If Applicable)
Some gas ovens use a continuously burning pilot light instead of an electronic igniter. If the pilot light is out, your oven won’t ignite.
- Consult your oven’s manual to locate the pilot light—typically found near the bottom.
- If lit, you should see a small blue flame. If not, follow your manual’s relighting instructions.
- If the flame won’t stay lit, clean the pilot light assembly thoroughly.
- If cleaning doesn’t work, the issue may involve the thermocouple. Move on to the next step.
5. Test the Thermocouple
The thermocouple is a safety device that detects whether the pilot light is on. A faulty thermocouple can mistakenly signal that the flame is out, cutting off the gas supply.
- Turn off both the gas and power before working on the thermocouple.
- Find the thermocouple near the pilot assembly. It looks like a slim metal rod.
- Inspect it for damage or buildup. Clean it gently and test the oven again.
- If the oven still won’t light, replace the thermocouple with a compatible part according to your appliance’s manual.
If none of these steps resolve the issue, it may be time to call in a certified appliance technician to investigate further. But in many cases, these DIY checks can get your gas oven back up and running quickly and safely.