May 8, 2025
How to Clean Your Dryer Vent: Step-by-Step Safety Guide
Neglecting your dryer vent isn’t just bad for performance—it’s a serious fire hazard. Built-up lint and dust combined with heat can lead to thousands of house fires every year. Learning how to clean your dryer vent is a crucial maintenance step you should perform at least once annually. Here’s how to do it safely and efficiently.
Signs Your Dryer Vent Might Be Clogged
- Clothes take longer than normal to dry.
- The dryer or clothes feel unusually hot after a cycle.
- There’s a burning smell while the dryer runs.
- Visible lint around the vent or lint trap.
- Excess lint left on clothing after drying.
- Weak airflow from the exterior dryer vent.
- Increased humidity or mustiness in the laundry room.
- Birds or rodents near the vent opening outside.
Before You Start: Safety First
- Unplug the dryer from its power source.
- If you have a gas dryer, shut off the gas valve.
- Wear gloves and a dust mask for protection.
- Open windows or doors for ventilation.
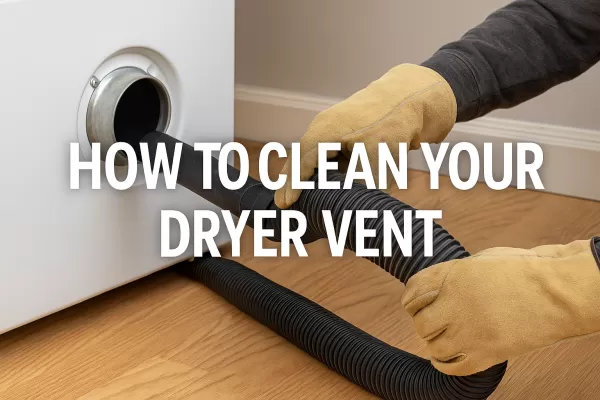
Step 1: Locate the Vent and Disconnect the Duct
- Pull the dryer about one foot away from the wall.
- Locate the vent hose and the exterior vent outlet.
- Loosen the vent clamp and disconnect the duct from the dryer.
- If your vent is plastic or foil-based, consider replacing it with rigid or semi-rigid ducting that meets local codes.
Step 2: Clean the Dryer and Duct Interior
- Remove lint from the dryer’s rear vent opening by hand while wearing gloves.
- Use a vacuum hose or shop vac to clean inside the dryer vent opening.
- If possible, detach the vent from the wall and vacuum the interior using extensions.
Step 3: Clean the Exterior Vent
- Head outside and remove the cover from the exterior dryer vent.
- Clear out lint or debris using a vacuum or vent brush.
- Wipe the exterior vent cover with a damp cloth to remove dirt or buildup.
Step 4: Brush the Vent Duct (If Needed)
If your vent is long or winding, use a vent cleaning brush kit:
- Feed the brush into the vent from the higher side (usually indoors).
- Push and pull while rotating to loosen and remove lint.
- Extend the brush as needed until the duct is clear.
Step 5: Reconnect and Test the Dryer
- Inspect the ductwork for damage. Replace if needed.
- Reconnect the vent to the dryer and reattach the exterior vent cover.
- Seal any gaps with UL-listed metal foil duct tape.
- Plug the dryer back in and/or turn on the gas valve.
- Run a test cycle on the air fluff or no-heat setting for 15–20 minutes to ensure proper airflow and that all connections are tight.
Extra Tips for Ongoing Maintenance
- Clean the lint trap before every cycle.
- Vacuum around the lint screen housing monthly.
- Scrub the lint screen periodically with warm, soapy water to remove dryer sheet residue.
- Sweep and dust around your dryer often to reduce buildup.
How to Clean a Dryer Vent From the Outside
- Locate your exterior dryer vent outlet.
- Remove any debris with a brush or vacuum attachment.
- Inspect and clean the vent flap for proper movement.
- Wipe down the vent cover with a damp cloth.
- Ensure all connections are secure before operating your dryer.
Cleaning your dryer vent not only enhances safety but also improves efficiency, saves energy, and helps your clothes dry faster. Make this simple task part of your annual home maintenance to protect your home and your family.