May 1, 2025
KitchenAid Range / Stove / Oven Fault Codes
Failure Code Reference & Solutions
- F1 - E0: EEPROM communication error
1. Disconnect power for at least 30 seconds.
2. Reapply power and observe for at least one minute.
3. If code reappears, replace control board (ERC/clock). Applies to all F1-E... codes except F1-E3. - F1 - E1: EEPROM checksum error
- F1 - E2: UL A/D error(s)
- F1 - E4: Model ID error
- F1 - E5: Calibration shifted
- F1 - E6: Latch signal mismatch error
- F1 - E9: Stack overflow
- F1 - E3: Wiring harness cavity size mismatch
The "Cavity Size Select" jumpers in the harness indicate a different oven size than previously configured. Check jumpers for accuracy. - F2 - E0: Shorted keypad
1. Check keypad connection to control board.
2. Press CANCEL. If code returns after 60 seconds, replace keypad or entire control board if integrated. - F2 - E1: Keypad cable unplugged
- F2 - E5 / E6: Cancel key drive line open
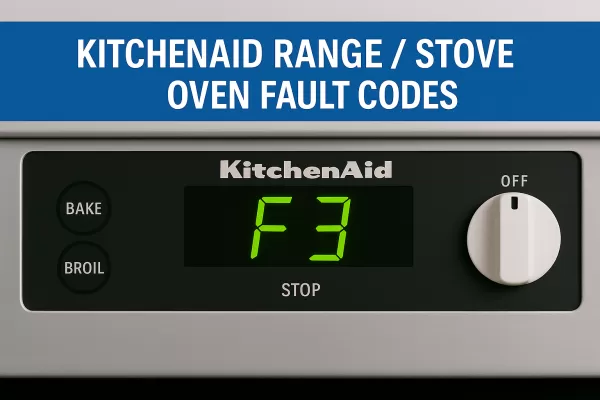
- F3 - E0: Upper oven temperature sensor (RTD) open – Replace sensor
F3 - E1: Upper oven temperature sensor (RTD) shorted
F3 - E2: Oven temperature too high (Cook mode)
F3 - E3: Oven temperature too high (Clean mode)
F3 - E4: Lower oven temperature sensor (RTD) open
F3 - E5: Lower oven temperature sensor (RTD) shorted
F3 - E6: Warming drawer sensor open
F3 - E7: Warming drawer sensor shorted - F4 - E1: Meat probe malfunction – shorted
Inspect the probe, receptacle, and wiring. Look for damage or contamination. Replace probe if needed. - F5 - E0: Door switches do not agree
If door latched:- Disconnect power
- Check wiring and connectors to door switch
- Replace door switch if necessary
- Reconnect power and clear code by holding any key for 1 minute
- Repeat checks for latch switch
- Measure door and latch switches. Replace if defective
- If all else fails, replace control board
- F5 - E1: Self-clean latch will not lock
- F5 - E2: Latch error during CLEAN mode
- F5 - E5: Self-clean temp not reached in 45 minutes
- F5 - E6: Door open but latch is locked
- F5 - E7: Latch will not unlock
- F6 - E0: Return line not connected
Control will show F6 within 60 seconds of startup if return line missing. Replace control. - F7 - E1: Common switch wire is defective
Common wire (+5VDC) to door/latch switch is shorted to chassis or neutral. Inspect connections or replace faulty switches. - F0: Board failure – Replace control board (ERC/clock)
- F1: Board failure – Replace control board (ERC/clock)
- F2: Oven temperature too high
1. Look for welded bake or broil relay contacts.
2. Check door lock function if self-clean model.
3. Inspect sensor, harness, and connections. Replace defective sensor. - F3: Oven temperature sensor (RTD) open – Replace RTD sensor
- F4: Oven temperature sensor (RTD) shorted – Replace RTD sensor
- F5: Board failure – Replace control board (ERC/clock)
- F7: Function key stuck on ERC – Replace control board
- F8: Board failure – Replace control board
- F9: Oven door lock failure
Check door lock switch wiring and stuck switches.
Need KitchenAid Replacement Parts?
For control boards, keypad membranes, sensors, or oven door switches, shop OEM-quality parts at DIY Appliance Parts Depot. Fast shipping, great support, and easy ordering!